Italian-Style Bread Food
SO, bred. A baker, I am not, but it turns out that lots of breads are easier than I realized, so we’re experimenting here at Hus Folland.
Today’s exciting experiment is an Italian bread. Unlike a lot of its more sour counterparts, though, it doesn’t require an overnight rise. This strongly appeals to my not being able to plan ahead. Or wait.
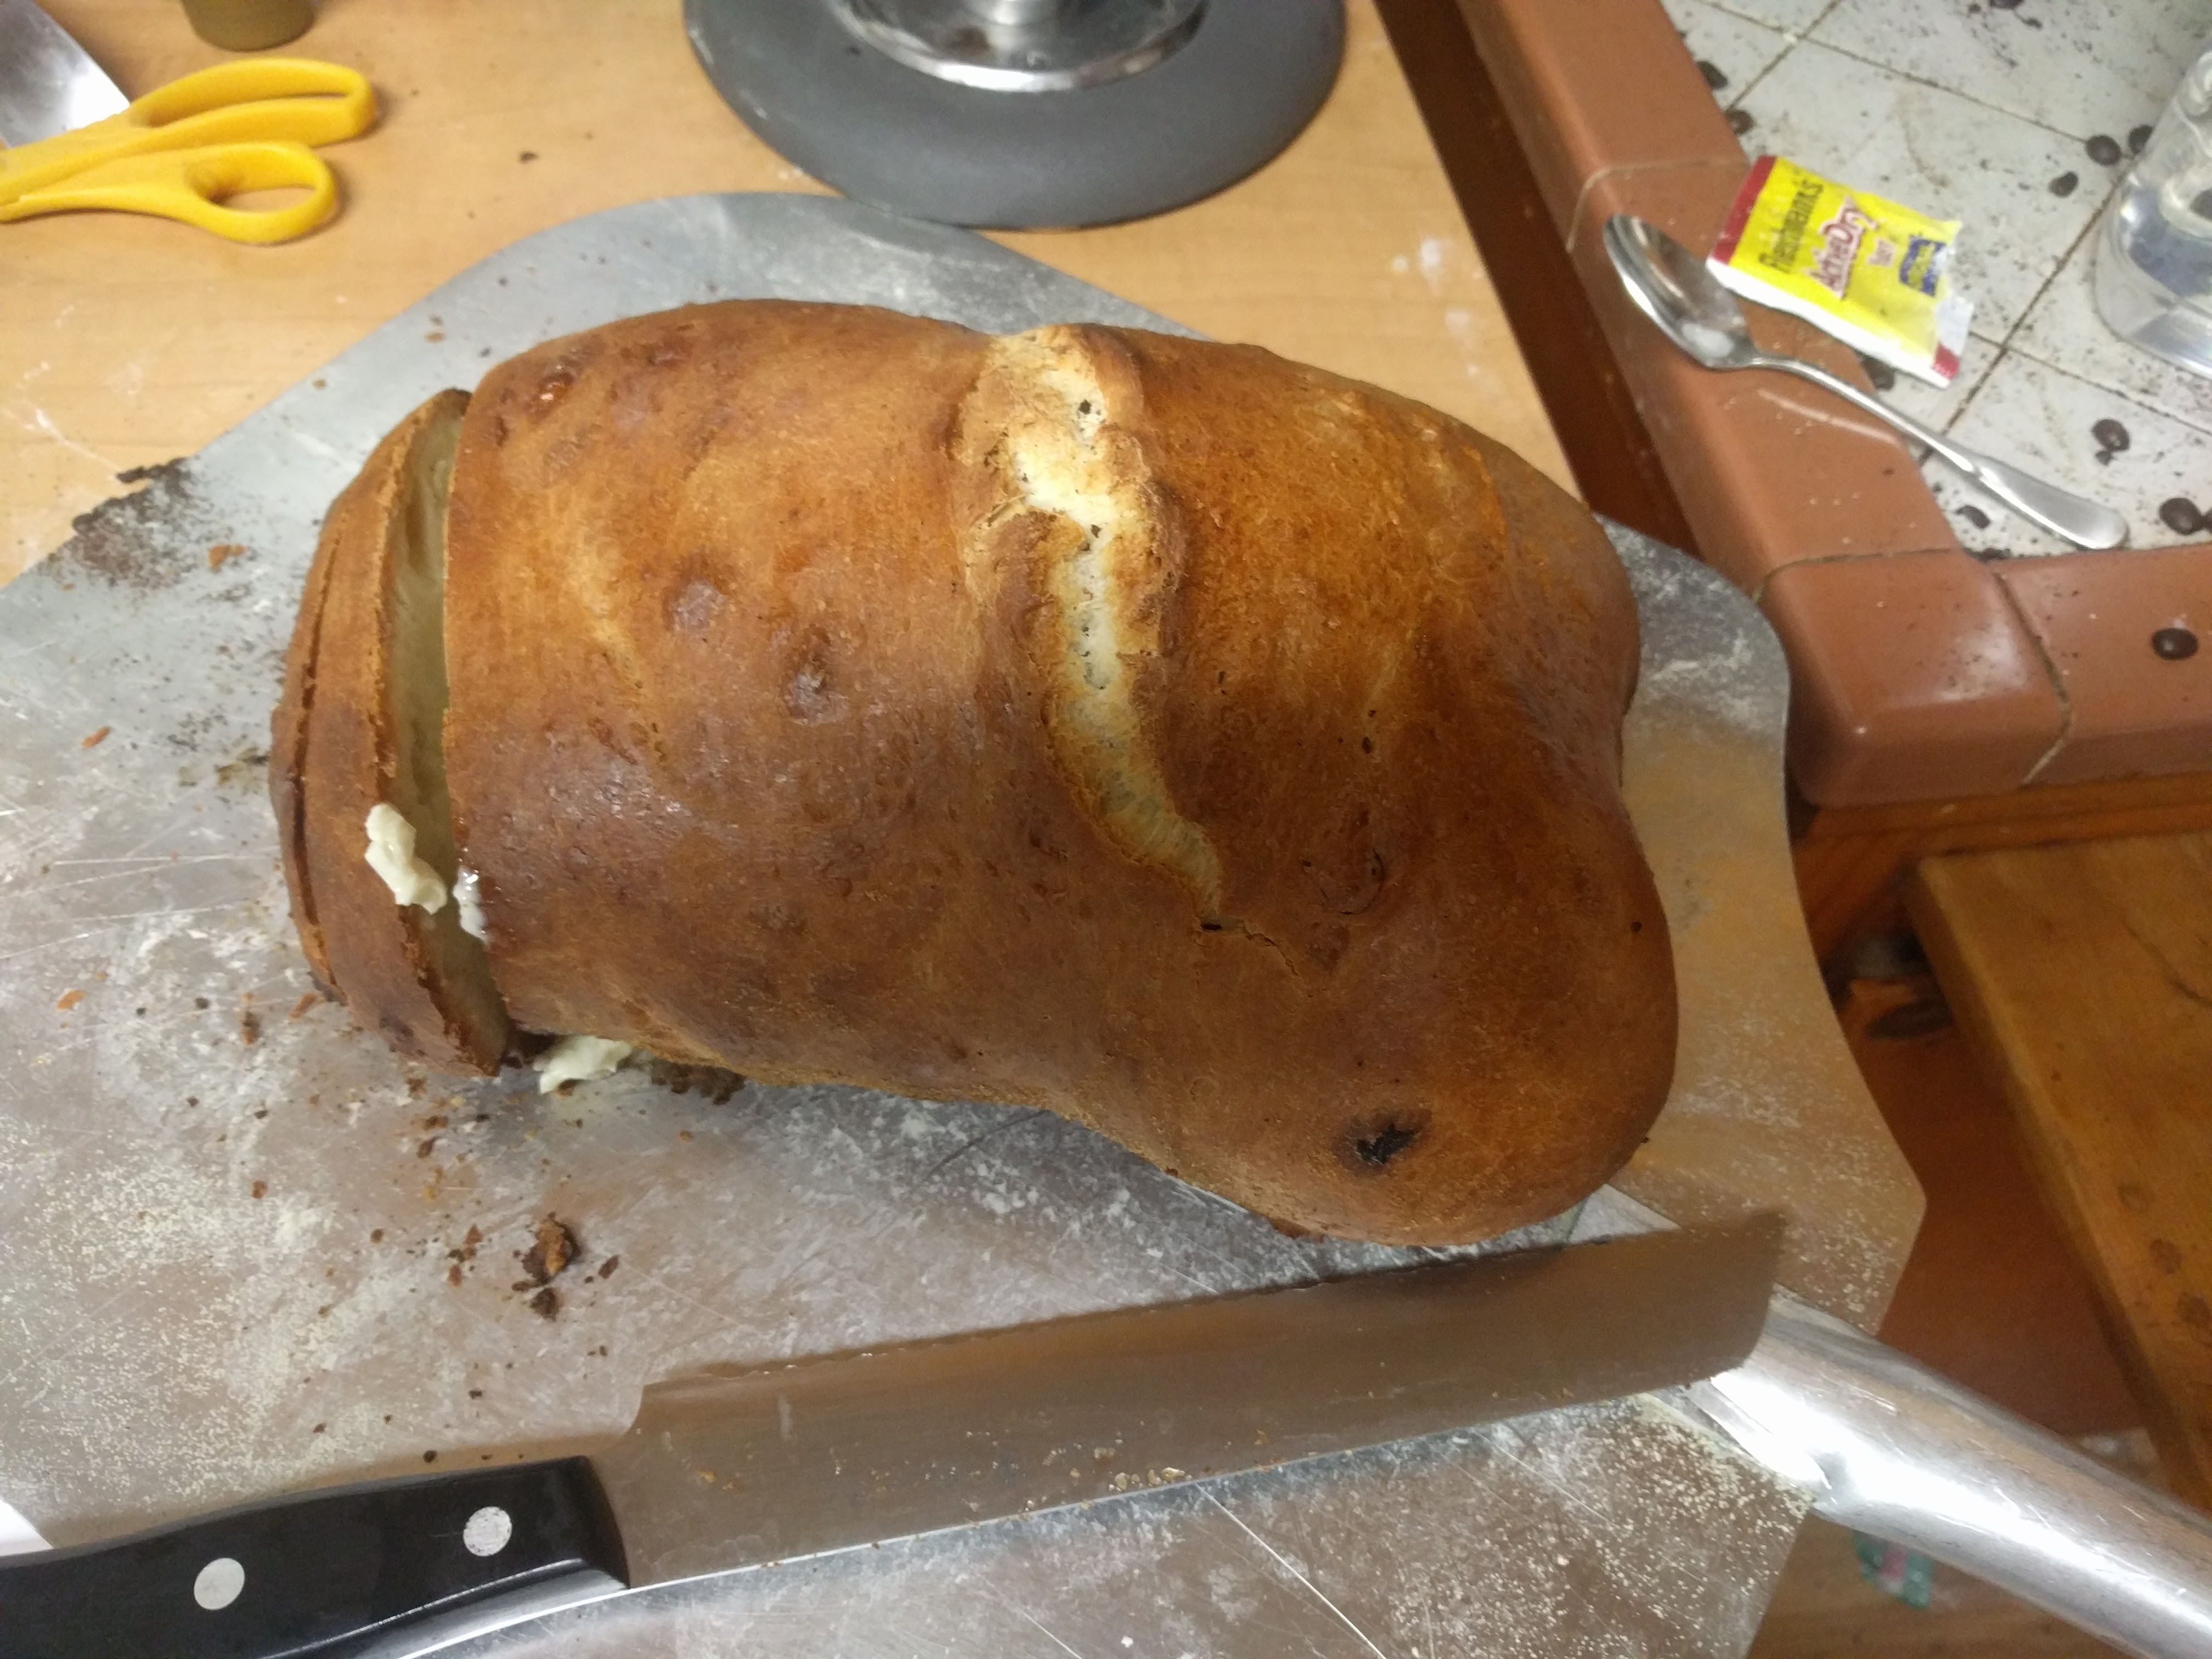
Now, you’ll note that this a pretty unattractive bread, but I learned a few things that I’ll add to the recipe. The important thing, though is that it’s tasty. In the end, that’s all that matters.
Shopping list
- 6 cups of flour. Maybe more, maybe less.
- Packet of yeast
- A lil’ sugar
- Olive oil
- Salt
- An egg
- Cornmeal
- Stand mixer or Popeye arms.
So the basis for this recipe is “borrowed” from Emeril. You can go there, or read on and learn from the dumb-ass who made the mistakes for you. I gotta warn you that I’m probably going to sound like one of those people in the comments section of a recipe website tho.
We’re going to start by deviating from the recipe (I told you so) and maybe go back to reference it now and then. Bread needs yeast. IDFK what “cake yeast” is, and probably wouldn’t buy it anyway. I take a packet of dry yeast (Fleischmans, Red Star, whatever) and dump it into a cup of water that’s just hot to the touch. Give it a good stir, and let it sit for a half-hour or so. Frozened yeast takes a while to wake up. Give it another stir. It’ll look kinda creamy tan.
Now, let’s start combining things. Unless you have Popeye arms, you’ll really want a stand mixer for this. Like full-on 1950’s steel KitchenAid mixer stuff. We’re going to abuse it a little.
To begin: In the bowl, 5 cups of flour. Add in your yeast. Add in another cup of warm/hot water. Add in a heavy tablespoon of sugar. I don’t think it really matters what kind so much. I don’t worry about it, at least.
Put the dough hook on the mixer, dump it into the bowl, and set for low to start mixing things together. Wait maybe a minute or two and dump in two tablespoons of olive oil and a tablespoon of salt. You can leave out the salt if you’re concerned about sodium, but salt’s job is to make things taste better. Your choice (IMO). I added salt.
Let it mix a minute or so more, then turn up the mixer to “mild abuse”. That would be about 4 if you have a KitchenAid. Let that bang around (and it will) for 7-8 minutes until the stuff in the bowl is like wet Play-Doh. It’ll be kinda gloppy, but nice and smooth and mostly wants to stick together.
If you’re doing this by hand, don’t fret. You’re almost there.
I forgot to mention that you should coat a mixing bowl with a little olive oil, so do that a couple of minutes ago. Work the dough off the hook, then out of the bowl into the new bowl. You’ll probably need to carefully pull the dough off the sides to keep it in a ball-ish state. I put that into a proofing oven, but they’re like $150 and I got mine as a gift. Pretty awesome though. If you don’t have one, cover the bowl with cling-wrap and put it in a warm humidish (if you can) place. Leave it alone for about two hours until it becomes ginormous. You can put the next bits off for a few if necessary. Or it may be ready earlier. This isn’t chemistry 101 like most baking. 😛
About an hour ago, turn on the oven to 425F. I just don’t know where to fit that in above. Hopefully you have a pizza stone or a cast iron pan in there. Either way, it takes longer to come to temperature than the oven thermometer.
Now comes the fun part, and the part where I went awry, and why the bread in the photo looks so funky.
Your pizza peel is probably the best thing for this part, but before you do anything, punch down (deflate) the dough, and work it gently for a minute. Take the dough and roll the outsides in to make a pretty top. At the same time, dust with a little flour as necessary. THE OUTSIDE OF THE DOUGH SHOULD NOT BE STICKY. If it is, it’ll just stick to anything and make the next bits difficult.
Now, you’ve got a not-sticky ball of dough. Spread out some cornmeal on your peel, and transfer the dough to that. Roll the outsides in a few more times to make it pretty and elongated – roughly the shape you’d like the final bread to be. Try not to get all the semolina mixed up in the dough. Cover with a damp towel and let it set for 30 minutes or so.
While that’s going on, take an egg yolk and beat it a little. When the dough has sat, it’ll be big again, and that’s cool. It’s supposed to be. Brush the egg yolk on the top of the bread, then slash it with a knife to make it pretty. Put some more semolina on the downward side of the peel and try to slide it into the oven.
This is where my bread got funny looking. The dough stuck to the peel. It really, really stuck to the peel and hung on for dear life because it didn’t want to oven. I ended up taking the dough off the peel, putting some more semolina down, and tried to re-shape the dough in mid-air. I’m sure it would have been entertaining to watch, but that’s why things look funny. Sticky dough. I also re-did the egg wash because that’s crust stuff, and it matters.
Once you actually have the dough in the oven, let it go for a few minutes. Then, open the door and mist the bread with water. Repeat if you want a thicker crust. Then let it go for 40-45 minutes. At any time around there, you can check for done-ness by rapping on the bread with your knuckles. IDK what “hollow” sounding means (which is what everyone says) but it’ll sound all ‘tok tok tok’ rather than ‘thunk thunk thunk’. Then you’ll know it’s done and can take it out.
Cool a little before serving because burning your mouth on bread is truly a sad thing indeed :/