Lavash (flatbread)
So, there are two basic types of lavash: Armenian, and the more Middle-Eastern type. So far as I can tell, the main difference is that the former uses baking powder, and the latter yeast, for leavening. This recipe is for the latter ~ I’ve been doing a bit of general Middle-Eastern stuff and this goes great (duh)
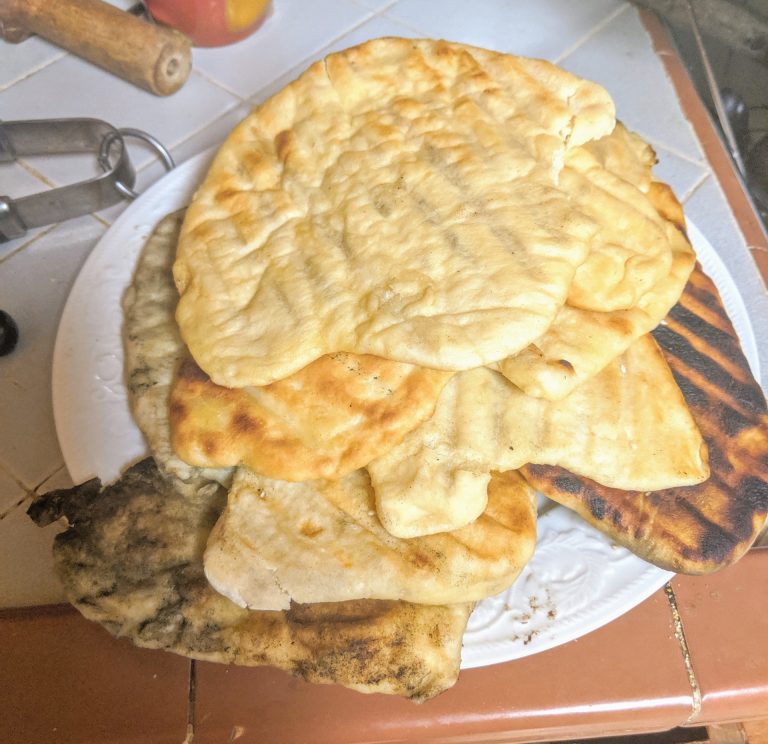
I’ve also been grilling mine, as it can get hotter than Hades here in the summer, and the more outdoor cooking the better. I’ve also been using the grill for the rest of the cooking. But, I’ll add some notes about what people are doing in the oven (for now).
Shopping list (it’s a short one for a change):
- 4 cups flour
- 1 packet active dry yeast
- Sugar
- Salt
- Olive oil (for brushies)
For, well, starters, add a packet of yeast and 2 teaspoons of sugar to a cup of warm water. Stir in and let rest for 10-20 minutes.
Meanwhile, in a stand mixer with the dough hook fixed, take 4 cups of flour, and add a teaspoon of salt. I usually make a depression in the flour for liquids. Add the yeast and water.
Start the machine on ‘stir’, or the lowest setting and get the mix incorporating. Scrape the sides regularly because stuff sticks. It’ll probably take about 4 minutes for everything to come together, and it’ll be really, really dry at this point. So, slowly add another 1/2 cup of warm water to smooth it out.
Turn the mixer up to “2”, and let ‘er rip for about ten minutes. After a couple, the dough should start coming together and get smooth but not too sticky. If it looks too dry or wet, add tiny amounts of either flour or water to compensate (it doesn’t take much).
Next up, grease a mixing bowl with olive oil. Remove the bowl from the mixer, and knead the dough into a ball with your hands (no need to put it on the counter). Dough into the greased bowl, cover with cling wrap, and let rise for 1 to 1-1/2 hours until roughly doubled in size.
Here is where I backtrack a little, and if you’re grilling the lavash, a little timing comes into play. You don’t want the dough sitting around too long, especially in the proofing stage, because the top will dry out – this doesn’t mean the dough is ruined, it just takes a little care and a splash of water (and some extra kneading) to reconstitute it. So, try and time everything so the lavash is ready to grill maybe 30 minutes tops before cooking. If you’re baking, bake when they’re ready.
Anyway, punch the down in the bowl, and then tip it out onto a floured surface. Knead the dough for a minute or three, then divide into 8-10 pieces. I’ve found that what works best here is to roll the dough out into a rectangle and cutting up with a knife.
Roll each little rectangle into a bigger rectangle. How thick depends on the end-use. For something like a shawarma/wrap, roll thinner and larger, 1/4″ or less. For a spoon/dipping bread, a little thicker is better, maybe under 3/8″. If you have space, try to not stack them, but if not, put a little flour between each ‘loaf’ to keep them from sticking.
For grilling, coat one side with oil, and place that side-down on the grill. Sesame seeds can be added if you like. Brush the now top side with oil, and when the bread starts to get bubbly, flip over and cook up the other side. You ought to be able to do 2-3 at a time, and each one takes between 5-10 minutes to do depending on how hot the coals are.
In the oven [I have not tried this] the consensus seems to be set the oven around 400-425, and bake on a parchment paper lined baking sheet. Some folks like to poke holes in the bread with a fork to let the steam out, but if you flip ’em when the bottom side is done that may not be necessary. Better safe than sorry may be the game though, unless you want to risk accidental pita. Anyway, brush with oil in the same way, but only the top side if you’re not flipping. Baking time around 15 minutes, but flip when the bottom side of the bread starts to brown over.