Wonton wrappers
Or a nearly universal dumpling wrapper. They’re all pretty much the same anyway. Dumpling wrappers aren’t terribly difficult to make, but they do take quite a bit of time and effort, so I’d recommend buying them if possible unless you’re either a masochist or want to embarass yourself impress your friends.
You should be able to get 18–24 wrappers out of one batch of dough.
Now, there are two basic recipes. One is all-manual, and the other allows you to use a pasta machine. For now, I’m only including the manual version, as the pasta machine requires bread flour (which is higher in glutens) at a time where plain-old white flower can be hard to find. Thanks, Covid-19.
So, easy-peasy shopping list:
- ~2 cups bread flour or add gluten per package
- pinch of salt
- 1 egg
- 1/4+ cup water
- corn starch
To begin, put the 2 cups of flour and a pinch of salt in a largish bowl, and make a dimple in it for the wet stuff.
In a separate bowl, crack the egg in, and add 1/4 cup of water. Beat until it’s pretty homogenized.
Add the liquid to the flour, and knead by hand (a KitchenAid won’t be much use here) until it works into a smooth ball, which will take several minutes of work. At this point, I like to tip the ball onto a floured surface and knead for a few more minutes. Work the dough back into a ball and put it back into the bowl.
Cover the bowl with a damp towel, and let rest for at least a half-hour, preferably an hour. Meanwhile, clean the flour off your working surface as you won’t be using flour later. Also prepare cover a baking sheet with parchment paper, and give it a light dusting of corn starch.
When the time is up, dust your work surface with corn starch, but as lightly as possible. We’re using corn starch as it won’t change the texture of the wrappers. Flatten the ball and cut up into 5-6 pieces so the chunks have enough room on the work surface to roll out.
Aaaand, start rolling. You’ll have to press down fairly hard because of the stiffness of the dough. I like to pick up the dough and rotate it as I’m rolling as it helps keep it from sticking to the surface.
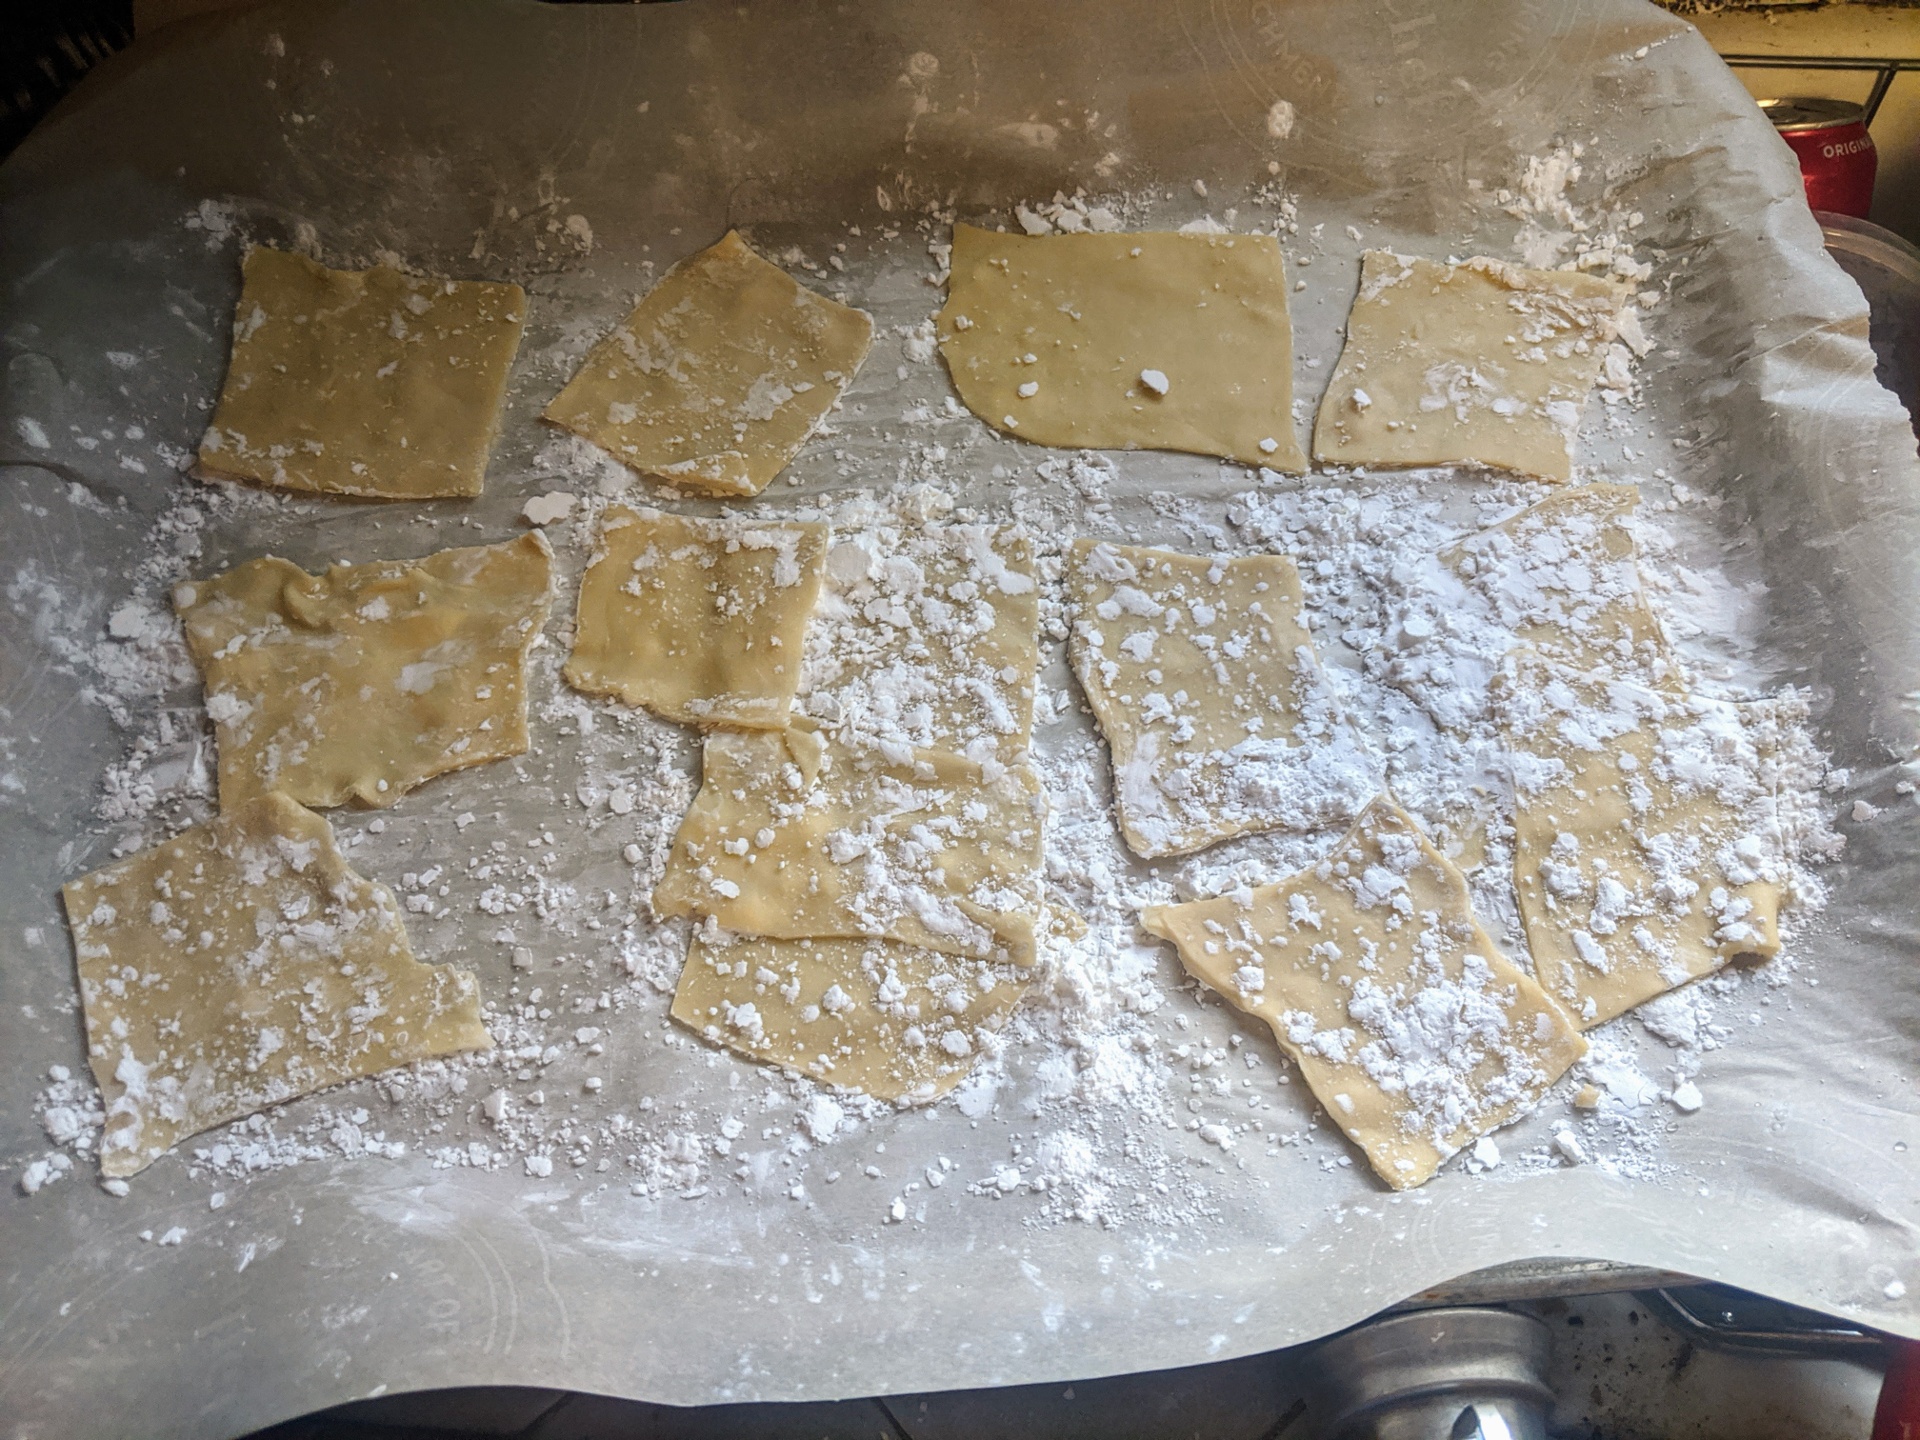
Keep rolling until you can get the dough as thin as humanly possible, and then start cutting your shapes. If you’re making square wrappers, cut the dough into roughly 3″ squares. Peel off the ragged edges and set aside for later. Remove the wrappers and arrange them rather neatly on the baking tray.
Unless you have more than one tray, dust the top side of the wrappers with corn starch. This will help keep the wrappers from sticking together as you layer them.
Repeat with the other dough chunks, then work the tailings into a ball and roll that out to use the maximum amount of dough as possible.
If you’re not using the wrappers immediately, cover with a damp towel to keep them from drying out.
— Theoretically any excess wrappers can be frozen for later. Place them on a baking sheet, with layers separated by parchment. Once they’re frozen they can be put in a ziploc bag.